Nikon Z9: Using Screw-Drive AF or Manual Focus Lenses
- Ed Dozier
- Dec 16, 2022
- 4 min read
It has been widely publicized that Nikon doesn’t support their screw-drive autofocus lenses on their mirrorless cameras. Does that mean you can’t use these lenses on cameras like the Z9? Absolutely not.
Think about some of the higher-end lenses out there, such as the Nikkor 58mm f/0.95 S Noct lens. This baby is manual focus and costs $8,000.00! The Zeiss Otus 55mm f/1.4 manual focus lens for Nikon is $3,400. Are photographers ditching these lenses? Nope.
The Nikon screw-drive lenses can be manually focused, exactly like those uber-expensive manual-focus lenses. The Nikon Z9 camera has focus aids that make manually-focusing this style of lens easier and more accurate than ever. For F-mount Nikkor lenses, all you’ll need is the cheap FTZ-ii adapter. You can also get adapters for lenses like the classic Canon 85mm f/1.2 that will allow their use on the Z9. A couple of lens adapter manufacturers are Viltrox and Fotasy.
Since you get to view your subject at the shooting aperture (up through f/5.6) you get much better information about where and how deep the focus is. This is especially important for really bright lenses with wide apertures, which can tend to shift focus as you change the aperture.
But wait, there’s more. You also get vibration reduction via the camera’s IBIS at no extra cost.
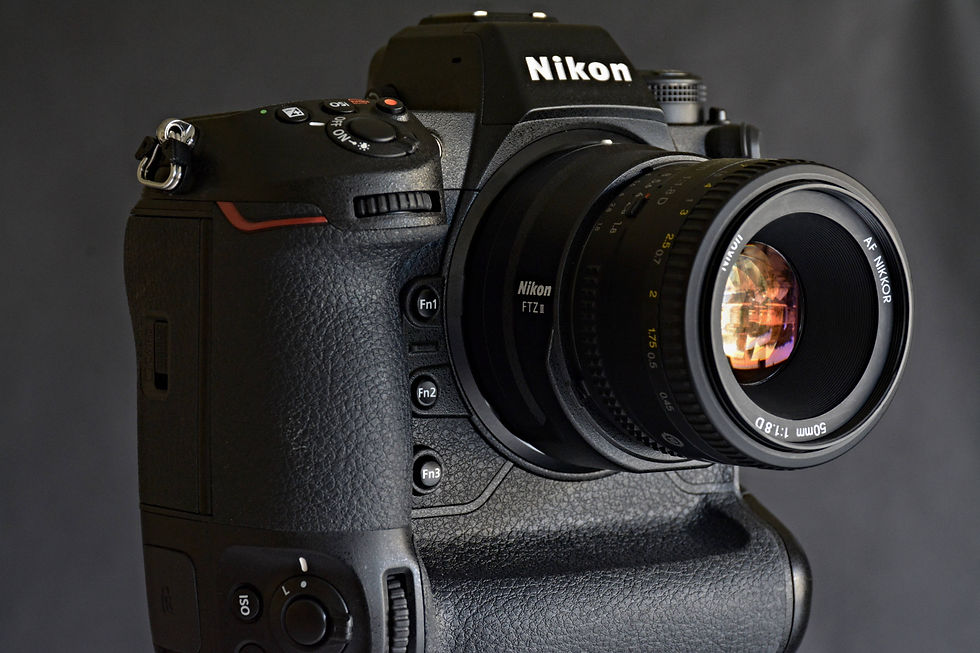
Typical Nikkor Screw-Drive AF lens with FTZ-ii adapter on Z9 camera

Lens with FTZ-ii adapter

Simple, clean viewfinder with green square focus confirmation
My generally preferred mode of operation with a screw-drive or manual-focus lens is shown above. I have a clean, unobstructed viewfinder configuration. The little square focus indicator turns from red to green when the subject under the focus point is accurately focused. I typically stay in aperture-priority mode and auto-ISO, so that I can concentrate on the subject composition instead of exposure.
This little square focus indicator is amazingly accurate, and it only turns green when critical focus is achieved. You can move this focus square nearly anywhere in the field of view using the arrows on the camera multi-selector. The focus square gets a tiny dot in its middle when you place it into the screen center location.
If I want extra information about the camera settings to show up on the display, then I press the DISP button on the back of the camera to select between none, some, or extensive shooting information.
This configuration is great for static subjects, when you aren’t in a hurry to get the subject into critical focus. If you encounter a moving subject instead, then you’ll probably want to activate focus peaking to help you quickly observe and then adjust the zone of focus.
There are magnifier "+" and "-" buttons on the back of the camera if you have a very static subject, and want to check focus by zooming in with the viewfinder. This can get tricky without using a tripod, especially with telephotos.

i-Menu to access the focus-peaking menu
I use the i-Menu to quickly access the focus-peaking features.

Control focus peaking features
Here is a full-featured menu to turn focus-peaking on/off, alter its sensitivity, and even change the color of the peaking highlight spreckles.

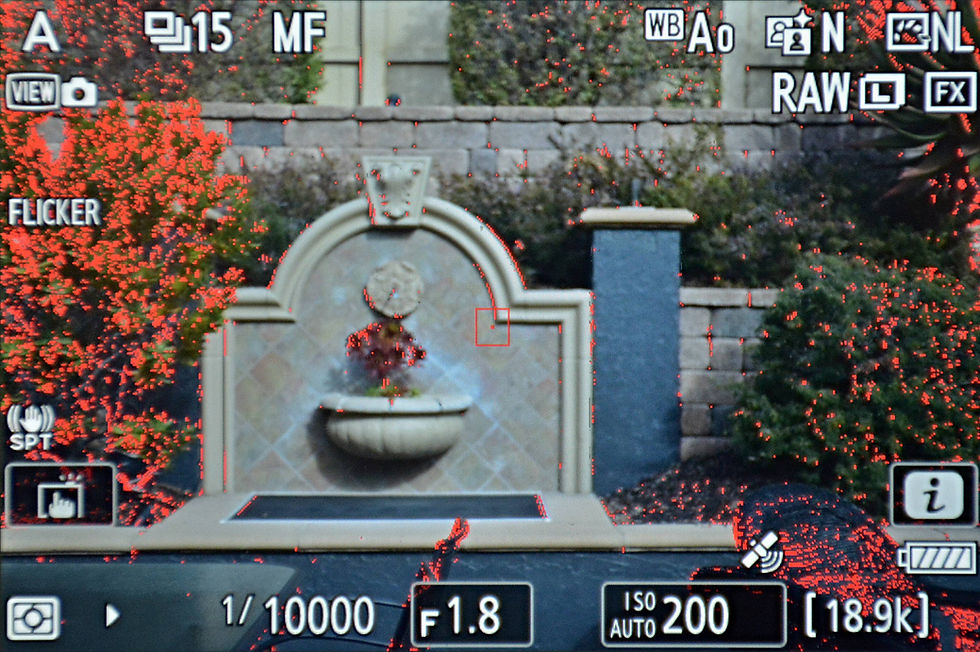
A very busy display, including focus peaking enabled
I will typically activate this busy display long enough to configure each of the appropriate camera shooting controls. Right after the configuration is set up, I then press the DISP button to get back to a cleaner display with less (or zero) shooting information.
Subject is out of focus with focus indicator now colored red
The shot above is out of focus. The focus-peaking spreckles have shifted away from the subject, and the little focus indicator square (screen center) has changed to a red color. Notice that there’s also a little white arrow at the bottom-left of the display that indicates which direction to twist the top of the lens focus ring to get the subject into focus. This little white arrow will turn into a white dot when sharp focus is achieved.
Simpler display with subject in-focus
The shot above shows a ‘clean’ display (!?). The subject is now in focus (focus indicator is green), but focus-peaking isn’t really appropriate for this subject. For some lens/subject combinations, focus-peaking is nearly impossible to use. Here’s a case where I would use the i-Menu to turn off focus peaking, and just use the little square focus indicator instead.

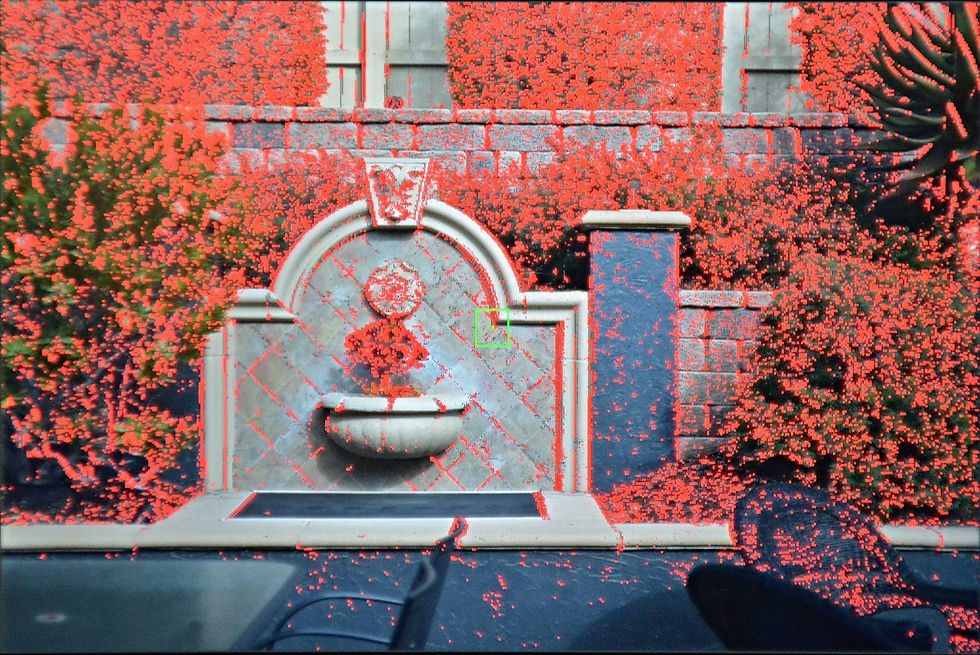
Busy display with subject in-focus
This picture shows how bad the viewfinder information overload can get. The subject is getting lost behind all of the indicators and focus peaking. And I'm not even showing the virtual horizon or histogram options! This is an example of what NOT to do.
Summary
The Nikon Z9 is crammed full of controls and indicators to give you as much or as little information as you want. You’ll need to spend some time to work with these controls and understand when they’re appropriate and when they’re not.
It's especially important to get comfortable using the i-Menu and the DISP button to quickly configure the viewfinder to suit the subject matter and the lens. You'll thank yourself for the time spent learning these controls.
Using manual focus or screw-drive lenses on the Z9 can be a rewarding or irritating experience, depending upon how you set up your camera. But you shouldn’t have any excuses not to get pictures in focus, when there are 4 different viewfinder features available to indicate correct focus.


Comments